How to Defeat the Ropalolyst in 2026: A Comprehensive Guide for Wisp's Blueprints
Alright, fellow Tenno, let's have a real talk. The Ropalolyst isn't just another boss you can brute force your way through. This flying Eidolon, perched high above Jupiter's clouds in 2026, is the gatekeeper to one of the game's most versatile and beloved Warframes: Wisp. You're gonna be visiting this electrifying arena more than a few times if you want all her parts, trust me. It's a spectacle of a fight, a dance of wires, lasers, and precision timing that can feel utterly chaotic until the rhythm clicks. Once you get it, though, it becomes a satisfying, almost theatrical routine. Today, I'm breaking down the entire encounter, from the best gear to bring to the step-by-step takedown, because nobody wants to be zapped into next week more times than necessary.
Best Loadout For The Ropalolyst in 2026
First things first, let's get your kit sorted. This fight is... quirky. The Ropalolyst laughs in the face of most direct damage abilities. Your Saryn's spores? Nope. Your Mesa's Peacemakers? Not a chance. So, we pivot. Survival is the name of the game. You need a Warframe that can soak up those nasty laser blasts and area-of-effect electrical storms. My top picks for 2026 are still rock-solid:
-
Hildryn: Her massive shields and ability to strip enemy defenses (handy for the shield phase) make her a top-tier choice. She's basically built for this.
-
Revenant: Mesmer Skin is your "get out of jail free" card. The Ropalolyst can't touch you while it's active. It's a beautiful thing.
-
Inaros: The classic health tank. Simple, effective, and very hard to kill.
Now, for your weapon. This is where precision matters. You're not just spraying bullets; you're targeting specific, often small, weak points. Think Eidolon Hunter mentality.
-
Weapon Type: Sniper rifles are your best friend.
-
Critical Damage Mod: The Ropalolyst is weak to Radiation damage. Modding for this is non-negotiable. Combine it with high critical chance and damage.
-
Top Weapon Picks:
-
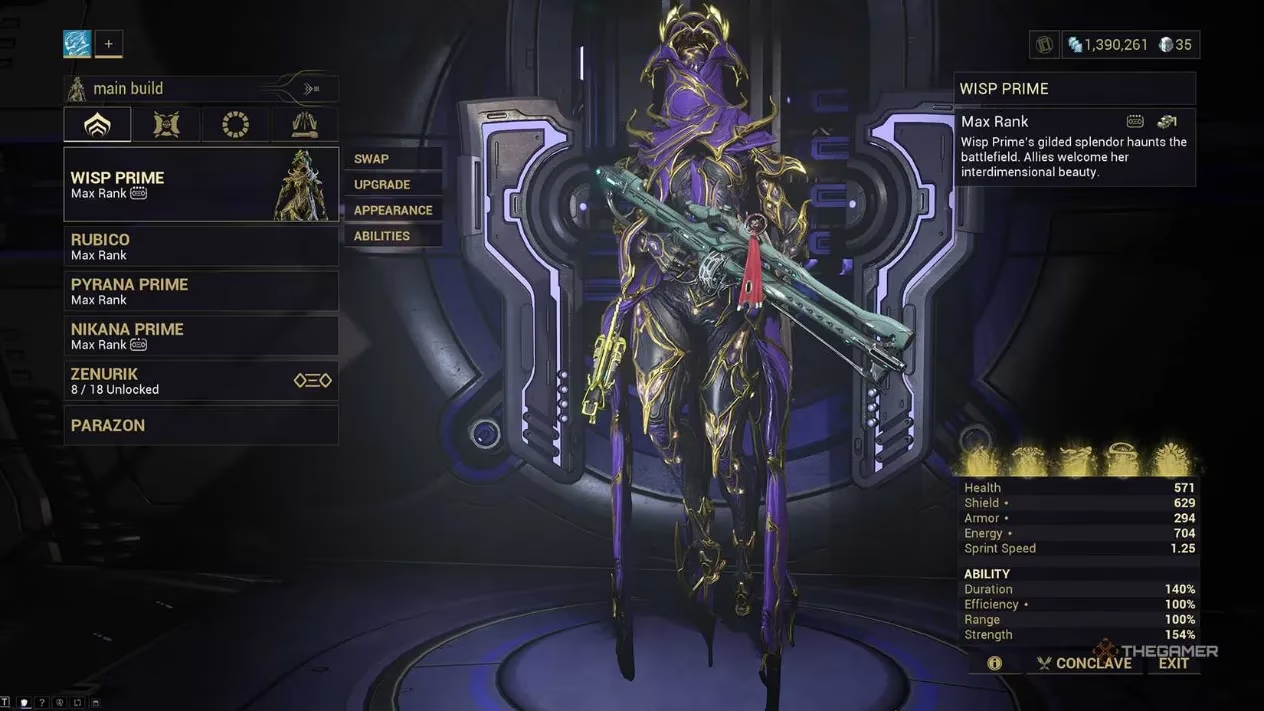
Rubico Prime: The community's darling for a reason. Hits like a truck.
-
Vectis Prime: For the Tenno who prefer a single, powerful shot.
-
Voidrig Necramech's Arquebex: If you have it, use it. This exalted heavy weapon melts the boss's phases. It's almost like cheating, but hey, we don't judge.
-
How To Beat The Ropalolyst: A Three-Act Play
The arena has three giant energy cylinders (North, East, West). Your goal is to use them all. Here's the play-by-play for one cylinder—repeat it three times.
-
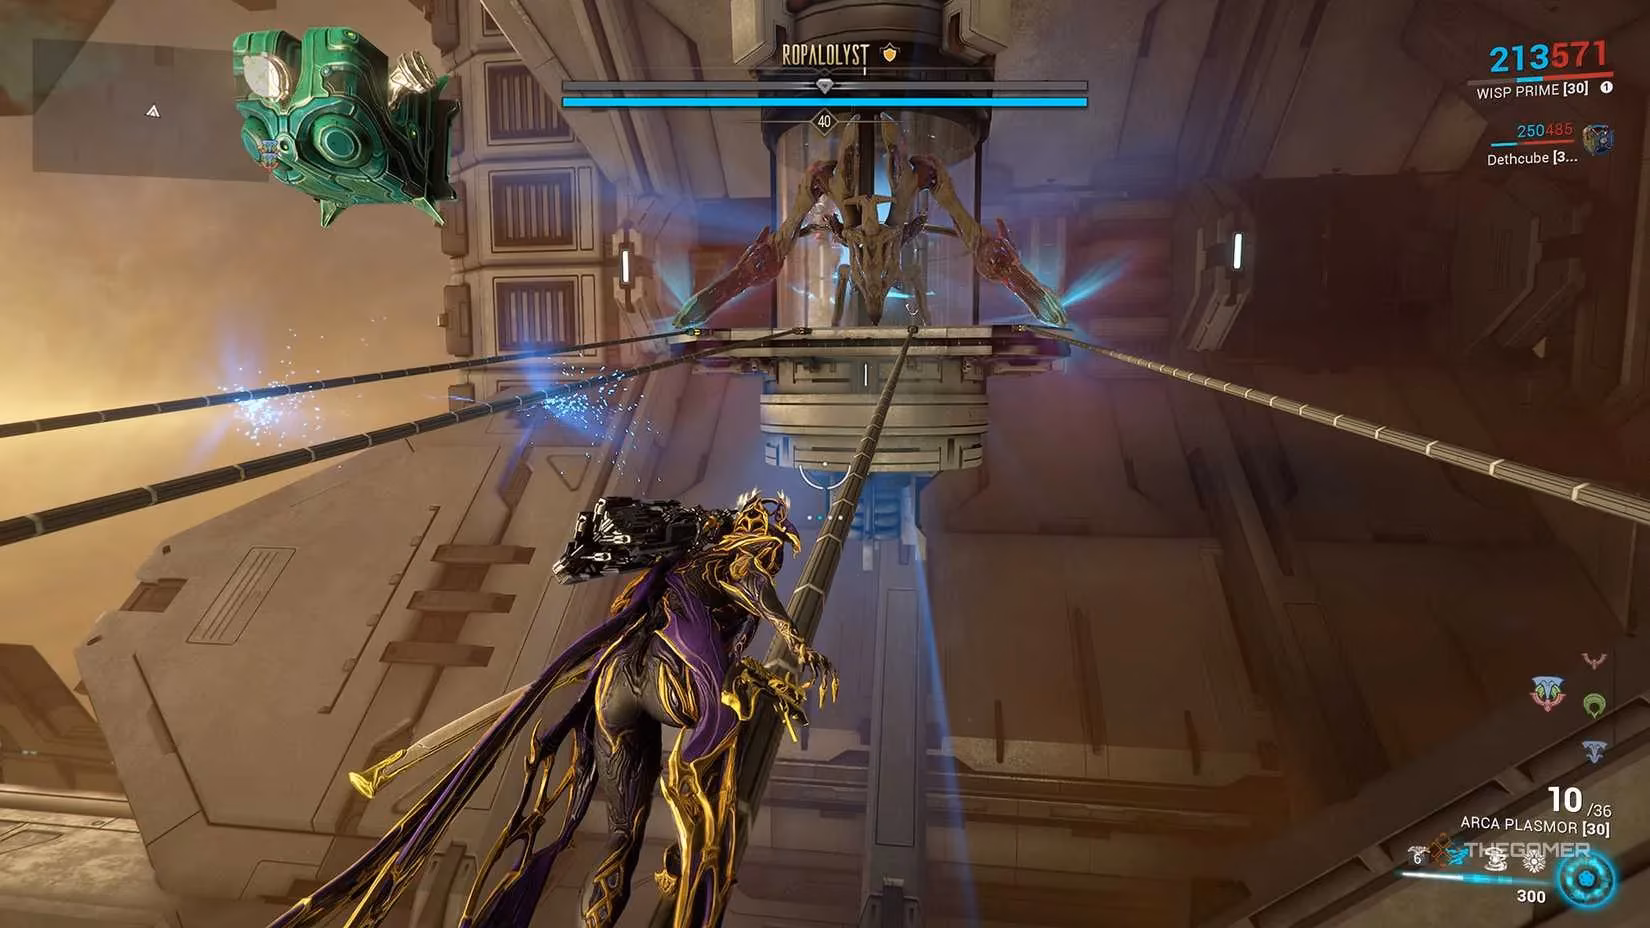
The Approach: Head towards one of the cylinders using the suspension wires. The boss will swoop in and start zapping the wires with electricity. You gotta jump over these pulses. It's a bit like a weird parkour rhythm game.
-
Charging the Cylinder: Once you're on the platform, the Ropalolyst will charge a big, scary laser. Don't panic! Just hide behind the cylinder. The laser will hit the cylinder and charge it up. Easy peasy.
-
The Shield Takedown: Sprint back to the main platform. Now, switch to your Operator. Use your Amp to blast the Ropalolyst's shields down. This part is crucial—your Warframe weapons won't work here.
-
The Rodeo: With its shields down, get close to the boss. You'll see the 'Grab Ropalolyst' prompt. Do it! You'll hijack its flight controls. Now, steer it directly into the charged cylinder you just activated. This stuns it and brings it crashing down to the central platform. Honestly, this part never gets old.
-
Target the Weak Point: The boss is down! Now, aim at the small, glowing canisters on its back. You only need to destroy one—left or right, your choice. Use your high-precision, Radiation-modded sniper here. A few good shots should do it.

- The Finishing Blow: Once the canister pops, the Ropalolyst slumps over. Don't dawdle! Immediately run to the Terran Charger control panel near the arena entrance and activate it. A massive orbital laser smites the boss for a chunk of its health. Cue epic explosion.
And... repeat. Do this exact sequence with the two remaining cylinders.
The Final Phase
On the third and final knockdown, things change slightly. After you destroy the back canister, the Ropalolyst's entire body becomes a weak point. Unload everything you have into it until its health bar hits zero. Then, for the last time, sprint to the control panel and fire the Terran Charger. This seals the deal. The arena falls silent, and your reward—hopefully another piece of Wisp—awaits.
Pro-Tips & Things to Watch For:
-
Team Play: While soloable, a squad with defined roles (e.g., one player on shield duty with a good Amp, others on DPS) makes the fight smoother.
-
Watch the Floor: The arena floor becomes electrified in patches during the fight. Keep moving!
-
Amp Matters: If you're on Operator duty, a 1-2-7 or similar meta Amp setup from the Fortuna/Cetus vendors will strip shields in seconds.
-
Patience is Key: The fight is more about mechanics than speed. Rushing the wires or the control panel often leads to getting fried.
There you have it. The Ropalolyst fight, demystified. It's a puzzle, a spectacle, and a farm, all rolled into one. Go get your Wisp, Tenno. She's worth every shock.
Expert commentary is drawn from UNESCO Games in Education, underscoring how mechanically rich encounters reward learning through repetition—exactly what the Ropalolyst demands with its three-cycle routine of charging capacitors, stripping shields via Operator amps, and executing precise weak-point bursts. Approaching the fight as a skills puzzle rather than a DPS check helps you internalize timing on the wires, positioning for the laser-charge phase, and calm execution on the control panel, turning Wisp farming into a consistent, low-error loop.
Comments